Introduction
A cracked windshield can turn an ordinary drive into a stressful experience. A rock strikes the glass on the highway, a small chip spreads overnight, or a crack appears across the driver's line of sight. Suddenly, you have questions about safety, repair costs, insurance, and how long your vehicle will be out of service.
Understanding the windshield replacement process helps you know what to expect before scheduling an appointment. Professional replacement involves much more than removing damaged glass and installing a new windshield. The technician must protect the vehicle, prepare the bonding surface, install compatible glass, allow the adhesive to cure, and verify that safety systems work as intended.
Your windshield is also a structural component of your vehicle. It supports proper airbag deployment in certain crash scenarios and contributes to roof strength during a rollover. A poorly installed windshield can compromise these functions, even if the glass looks perfectly fine from the outside.
This guide explains the windshield replacement process from the first inspection to the final safety checks. You will learn how technicians determine whether replacement is necessary, how mobile and in-shop appointments differ, what ADAS calibration involves, how insurance may help, and what to do after the new windshield replacement is installed.
Step 1: Assessing the Windshield Damage
Before replacing the glass, a technician evaluates the damage to determine whether the windshield can be repaired or needs to be replaced. This initial assessment helps prevent unnecessary replacement while identifying problems that could affect visibility or structural safety.
How Technicians Evaluate Chips and Cracks
The technician examines the size, location, depth, and pattern of the damage. A small rock chip repair may be repairable, while a long crack or damage near the edge of the glass may require a complete windshield replacement.
Common factors include:
Size and depth: Larger damage, multiple impact points, and cracks that penetrate important layers of laminated glass can make repair unsuitable.
Location: Damage in the driver's primary viewing area may affect visibility even after a repair.
Edge damage: Cracks near the windshield's outer edge can compromise structural integrity and are often more difficult to repair reliably.
Spread of the damage: A chip that develops into a long crack may no longer qualify for a safe repair.
Previous repairs: Earlier repair attempts, contamination, or damage in multiple areas can affect the available options.
Repairability depends on the vehicle, the glass construction, the damage pattern, and applicable industry guidance. A technician should assess the actual damage rather than make a decision based on chip size alone.
When Windshield Replacement Is Necessary
Replacement is generally recommended when damage cannot be repaired to an acceptable safety and visibility standard. Examples include extensive cracking, certain forms of edge damage, multiple severe impact points, or damage that interferes with the driver's view.
A windshield may also need replacement if the glass has separated from its surrounding bonding area or if previous installation work has compromised the attachment.
Practical example: A small chip from a highway rock might be repairable if it is shallow and outside critical viewing areas. If the same impact produces a crack that extends toward the windshield's edge, replacement may be the safer option.
Do not assume that a crack is harmless because it has stopped spreading. Changes in temperature, road vibration, and vehicle movement can cause existing damage to worsen.
Step 2: Choosing the Correct Replacement Windshield
Once replacement is recommended, the next step is selecting glass that matches the vehicle's specifications. Windshields can look similar while differing in important features, so accurate vehicle identification is essential.
Why Vehicle Compatibility Matters
The technician typically confirms the vehicle's year, make, model, trim, and other identifying details. The vehicle identification number (VIN) can help identify the original equipment configuration and narrow down compatible replacement options.
Depending on the vehicle, the correct windshield may need to accommodate:
Rain and light sensors
Forward-facing driver-assistance cameras
Heated glass or a heated wiper area
Acoustic or solar-control features
Head-up display technology
Special brackets, mounting points, or antenna components
Installing glass that lacks a required feature can cause functional problems or interfere with sensor operation. The technician should verify compatibility before beginning the installation.
OEM Glass vs. Aftermarket Glass
Original equipment manufacturer (OEM) glass is supplied under the vehicle manufacturer's specifications or sourcing arrangements. Aftermarket glass is produced by another manufacturer for compatible vehicle applications.
Either category may be appropriate, but the label alone does not establish that a particular windshield is the best choice. Quality, fit, applicable safety standards, optical clarity, sensor compatibility, and any insurance or vehicle-manufacturer requirements all matter.
Ask whether the proposed windshield supports your vehicle's factory features and whether it meets the relevant safety requirements. For vehicles equipped with advanced driver-assistance systems, camera compatibility is especially important. You can also explore protective solutions like ExoShield to help safeguard your new glass against future road damage.
Step 3: Preparing the Vehicle for Replacement
Before removing the damaged windshield, the technician prepares the vehicle and surrounding work area. Proper preparation protects the paint, dashboard, interior trim, and electrical components while making the installation easier to perform accurately.
Protecting the Vehicle Interior and Exterior
The technician may cover the dashboard, seats, hood, and nearby surfaces with protective materials. Wipers, trim pieces, cowl panels, and other components that obstruct access may need to be removed carefully.
The technician also checks for existing damage around the windshield opening. Rust, corrosion, previous adhesive repairs, or damaged mounting points can affect the quality of the new installation.
If corrosion is discovered, it should be addressed appropriately before the new glass is bonded. Applying adhesive over a compromised surface can weaken the attachment and contribute to future leaks.
Preparing for Mobile or In-Shop Service
Mobile windshield replacement allows eligible vehicles to be serviced at a suitable location, such as a home or workplace. It can save a trip to the shop, provided the technician has adequate space, safe working conditions, and the equipment required for the vehicle.
In-shop service may be preferable when the job requires specialized equipment, controlled working conditions, additional diagnostics, or particular calibration procedures. For local drivers seeking expert care, you can learn more about us or visit our facility.
Weather also matters. Rain, excessive moisture, extreme temperatures, and wind can affect installation conditions or adhesive performance. A mobile appointment may need to be adjusted if the location or weather does not support a safe installation.
Step 4: Removing the Damaged Windshield
Removing the old windshield requires care because it is bonded to the vehicle rather than simply held in place by a few screws.
Cutting Through the Existing Adhesive
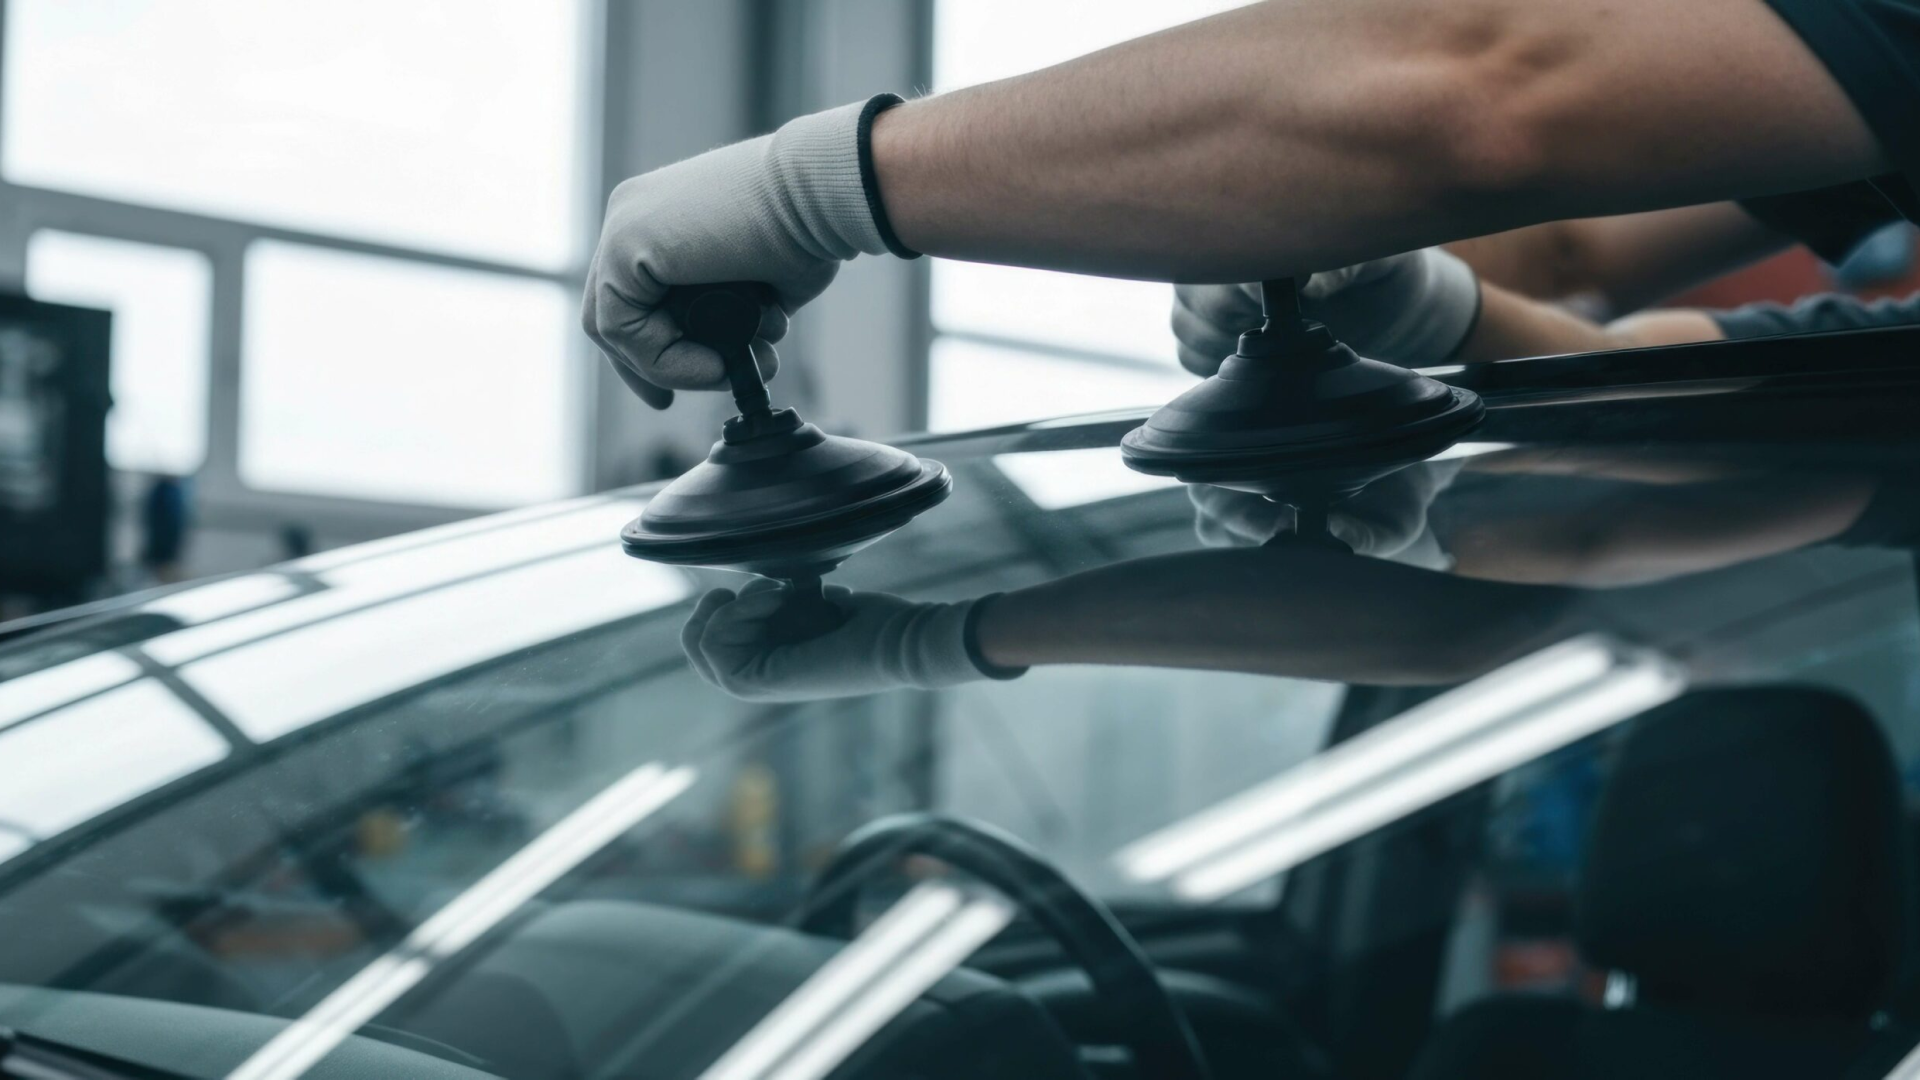
Modern windshields are typically attached using a specialized automotive urethane adhesive. The technician uses appropriate tools to separate the glass from the adhesive without damaging the vehicle's bodywork or surrounding components.
The old windshield is then lifted out using suitable handling equipment. Because automotive glass can break during removal, trained handling helps reduce the risk of injury and damage to the vehicle interior.
Inspecting the Windshield Opening
After removal, the technician inspects the exposed bonding surface, often called the pinch weld. This area must be suitable for the new adhesive and windshield.
The technician removes old adhesive according to the applicable installation procedure, while preserving the surface needed for proper bonding. Any corrosion or damage should be evaluated before proceeding.
This step deserves attention even though most of the work becomes hidden once the new glass is installed. A clean, properly prepared bonding area helps the adhesive form the intended connection between the windshield and vehicle body.
Step 5: Preparing the Surface and Applying Adhesive
With the old glass removed, the technician prepares the bonding surfaces and applies automotive-grade urethane. The adhesive is not merely a seal against rain; it is a critical part of the windshield's attachment to the vehicle.
Cleaning and Priming the Bonding Area
The technician follows the adhesive and vehicle-specific instructions for cleaning, surface preparation, and primer application where required. Not every product or installation uses the same preparation method, so the correct procedure depends on the materials involved.
Contamination from dirt, oil, moisture, or unsuitable cleaning products can interfere with bonding. Skipping preparation steps or using incompatible materials may increase the risk of water leaks, wind noise, or inadequate adhesion.
Applying Automotive Urethane
The urethane is applied in a controlled bead around the windshield opening or as specified by the installation procedure. Bead placement, height, continuity, and product compatibility matter because they influence the contact between the glass and the vehicle.
The technician also checks the adhesive's working time and environmental requirements. Once the adhesive is applied, the windshield must be positioned within the product's specified installation window.
This is one reason professional installation is preferable to an improvised repair. The correct adhesive, preparation method, and application technique are essential to achieving the intended bond.
Step 6: Installing and Positioning the New Windshield
After preparing the bonding surface, the technician positions the replacement windshield in the vehicle opening. Accuracy matters because the glass must align correctly with the body, molding, sensors, and other components.
Aligning the Glass Correctly
Specialized setting tools or lifting equipment may be used to place the windshield without disturbing the adhesive bead. The technician checks alignment, seating, and contact with the bonding surface.
Incorrect positioning can cause uneven gaps, trim problems, wind noise, water intrusion, or poor bonding. The technician may make careful adjustments while the adhesive remains within its approved working time.
Once positioned, the windshield is secured according to the installation procedure. Any necessary clips, moldings, wipers, cowl panels, and other removed components are then reinstalled as appropriate.
Checking the Fit and Finish
The technician inspects the windshield's position relative to the surrounding bodywork. Moldings should fit properly, and the glass should not show obvious alignment issues.
The technician may also check for visible adhesive irregularities and confirm that removed components have been reinstalled correctly. A clean appearance is useful, but the quality of the hidden bond remains the more important safety consideration.
Step 7: Allowing the Adhesive to Cure
After installation, the adhesive needs time to develop sufficient strength. This waiting period is often called the safe drive-away time, and it should never be treated as optional.
What Is Safe Drive-Away Time?
Safe drive-away time is the minimum period specified for the adhesive and installation conditions before the vehicle can be driven safely. It is not necessarily the same as the time required for the adhesive to cure completely.
The required period depends on factors such as:
The adhesive product used
Temperature and humidity
The vehicle's design
Airbag configuration and relevant safety requirements
The manufacturer's installation instructions
Some installations may be ready for driving after a relatively short period, while others require longer. Your technician should provide the specific safe drive-away time for your vehicle and the conditions at installation.
Why Driving Too Early Is Risky
A windshield that looks securely positioned may not yet have developed the required bond strength. Driving prematurely can expose the installation to forces before the adhesive is ready.
The windshield's attachment can matter during a collision and for proper passenger-side airbag support in vehicles designed to use the windshield for that purpose. Following the specified waiting period helps preserve the intended performance of the installation.
Do not rely on a general online estimate if your technician has provided a different time for the adhesive used in your vehicle.
Step 8: Calibrating ADAS Cameras and Driver-Assistance Systems
Many newer vehicles use cameras and sensors mounted near or behind the windshield. If replacement affects these components, the vehicle may require advanced driver-assistance system (ADAS calibration) before the work is complete.
What Is ADAS Calibration?
ADAS calibration aligns or verifies the position and operation of cameras and other sensors used by driver-assistance features. Depending on the vehicle, these systems may support lane-departure warnings, lane-keeping assistance, forward collision warnings, automatic emergency braking, or adaptive cruise control.
A camera can appear correctly installed while its view or alignment differs from the vehicle's required specifications. Calibration helps the system interpret the road and surrounding objects as intended.
Static vs. Dynamic Calibration
Two common approaches are static and dynamic calibration.
Static calibration: The vehicle remains stationary while technicians use specified targets, measurements, and equipment in a controlled setup.
Dynamic calibration: A technician drives the vehicle under manufacturer-specified conditions so the system can complete its calibration procedure.
Combined calibration: Some vehicles require both methods.
The correct procedure depends on the vehicle manufacturer, system design, and service requirements. Not every windshield replacement requires camera calibration, but it should never be skipped when specified.
How Technicians Verify Driver-Assistance Systems
The technician checks which systems are fitted and determines whether windshield replacement triggers calibration requirements. After the required procedure, the technician verifies the results using the appropriate equipment and diagnostic process.
If a warning light remains on or a calibration cannot be completed, the issue should be investigated before assuming the vehicle's driver-assistance features are operating normally.
Drivers should not rely on lane assistance or collision-warning technology as a substitute for attentive driving, even after successful calibration.
Step 9: Completing the Final Quality and Safety Checks
Before handing the vehicle back, the technician performs checks appropriate to the installation and vehicle.
These may include:
Inspecting windshield alignment and visible fit
Checking that required moldings and removed components are secure
Verifying that the wipers operate correctly
Checking for visible gaps or installation concerns
Assessing possible water or air leaks using an appropriate method
Confirming required ADAS calibration and reviewing any unresolved warnings
Explaining the safe drive-away time and aftercare instructions
A final inspection helps identify problems while the technician is still available to address them. If you notice a new warning light, unusual wind noise, water leakage, or a wiper problem after leaving, contact the installer promptly rather than assuming the condition is normal.
Step 10: Understanding Insurance, Costs, and Scheduling
Windshield replacement costs vary because vehicles use different glass specifications, sensor systems, installation methods, and parts. Insurance coverage can also change what you pay out of pocket.
What Affects Windshield Replacement Cost?
Common cost factors include the vehicle's make and model, the type of replacement glass, integrated heating or acoustic features, camera calibration requirements, and labor.
A basic windshield without specialized equipment may cost less than one designed for a vehicle with a head-up display or advanced driver-assistance cameras. Availability of the correct glass can also affect scheduling.
Request an estimate that explains what is included. Ask whether the price covers molding or clips, required calibration, mobile service if applicable, taxes, and any other necessary work.
Does Auto Insurance Cover Windshield Replacement?
Coverage depends on your policy, deductible, insurer, and the circumstances of the damage. Comprehensive coverage may help pay for windshield damage, but terms vary by policy and state. Some policies offer separate glass benefits or reduced deductibles.
Before authorizing work, contact your insurer or review your policy to confirm coverage and any preferred-provider requirements. Ask whether you must pay a deductible and whether calibration is included in the approved claim.
A glass service provider may help with claim documentation or communication with the insurer, but the insurer determines coverage under your policy.
How Long Does the Entire Process Take?
The appointment may take a few hours, but the exact duration varies by vehicle, glass availability, installation complexity, and calibration requirements. The safe drive-away period is a separate consideration and may extend beyond the hands-on installation.
When scheduling, ask for an estimated appointment duration and the required waiting period before driving. If you depend on your vehicle for work or school, planning around both times can help prevent unexpected disruption.
Step 11: Caring for Your New Windshield
After installation, follow the technician's instructions carefully. The correct aftercare depends on the adhesive and vehicle, so the instructions provided for your specific installation should take priority over generic advice.
What to Do During the First 24 to 48 Hours
Depending on the installation procedure, your technician may recommend leaving a window slightly open, avoiding certain car washes, or limiting activities that place pressure on the windshield or its adhesive. These precautions are not identical for every product, so confirm which ones apply.
Other sensible practices include:
Avoid slamming doors if instructed to do so.
Leave retention tape in place for the recommended period.
Do not remove moldings or press against the glass.
Follow instructions for washing the vehicle.
Keep the windshield area free from unnecessary disturbance.
Do not assume that all adhesive systems require the same 24- or 48-hour restrictions. Follow the product-specific guidance you receive.
What to Watch for After Replacement
Contact the installer if you notice water entering around the windshield, persistent unusual wind noise, loose trim, abnormal wiper operation, or a new driver-assistance warning.
A slight chemical smell or a temporary change in the appearance of some installation materials may occur, depending on the products used. However, water leaks, loose components, or unresolved safety-system warnings should not be ignored.
Keep your receipt, warranty information, and any calibration documentation. These records can be helpful if you need follow-up service or have questions about the installation.
Common Windshield Replacement Misconceptions
A New Windshield Is Just a Piece of Glass: The windshield is part of the vehicle's safety system. Its bonding, fit, optical quality, and compatibility with airbags and driver-assistance features all matter.
Every Crack Requires Replacement: Some chips and cracks can be repaired safely, depending on their location, depth, size, and pattern. A professional assessment can determine whether repair remains a suitable option.
All Replacement Glass Is the Same: Glass can differ in fit, optical characteristics, features, and sensor compatibility. The correct replacement must match the vehicle's requirements rather than simply fit the opening.
The Vehicle Is Ready as Soon as the Glass Is Installed: Installation completion does not automatically mean the vehicle is ready to drive. The adhesive must reach the specified safe drive-away condition, and any required calibration must be completed.
Mobile Service Means Lower Installation Standards: Mobile and in-shop replacement can both be performed by qualified technicians with suitable equipment and working conditions. The key is following the correct installation and safety procedures, not the location alone.
Conclusion
The windshield replacement process begins with a careful damage assessment and ends only after the new glass has been properly installed, the adhesive has reached its specified safe drive-away condition, and any required safety-system calibration and final checks have been completed.
Every stage matters. Correct glass selection, careful removal, proper surface preparation, accurate positioning, and appropriate curing time all contribute to a windshield that performs as intended. Vehicle technology adds another consideration: cameras and sensors may require calibration after replacement.
Before scheduling service, ask whether the damage can be repaired, which glass will be installed, whether ADAS calibration is required, what the estimate includes, and when the vehicle will be safe to drive. After installation, follow the technician's instructions and report any concerns promptly.
For drivers in Utah, Rock Doc Auto Glass offers windshield repair and replacement, mobile and in-shop service, ADAS and lane-departure camera calibration, motorhome and RV glass services, and ExoShield windshield protection. You can also explore our auto glass FAQs or contact us to schedule an appointment today.
Frequently Asked Questions
1. How long does windshield replacement take from start to finish?
Many windshield replacement appointments take a few hours, although the exact time depends on the vehicle, glass availability, installation complexity, and required calibration. You must also allow the adhesive to reach its specified safe drive-away time before driving.
2. Can a small windshield chip or crack be repaired instead of replacing the windshield?
Yes, some small chips and cracks can be repaired if their size, depth, location, and pattern meet accepted repair criteria. Damage near the driver's primary viewing area, along the windshield edge, or across multiple areas may require replacement. A technician can assess the safest option.
3. How much does windshield replacement cost?
The cost depends on your vehicle, replacement glass specifications, integrated features, labor, and whether ADAS calibration is needed. Insurance coverage and deductibles also affect your out-of-pocket expense. Request an itemized estimate so you can understand which services and parts are included.
4. Can I drive immediately after a windshield replacement?
No. You should wait until the adhesive reaches the manufacturer's specified safe drive-away time for the installation conditions. That period varies by adhesive, temperature, humidity, and vehicle requirements. Follow your technician's instructions rather than relying on a general estimate.
5. Does windshield replacement require ADAS or camera calibration?
Not every vehicle requires calibration, but many vehicles with windshield-mounted driver-assistance cameras do. Replacement can affect camera alignment, so the technician should check the manufacturer's requirements and complete any necessary static, dynamic, or combined calibration before returning the vehicle.
6. Will my car insurance pay for windshield replacement?
Your policy may cover replacement under comprehensive coverage or a specific glass benefit. Coverage depends on your deductible, policy terms, insurer, and applicable requirements. Confirm your benefits and any approval or provider restrictions before authorizing the work.
7. Is mobile windshield replacement as reliable as in-shop service?
Mobile replacement can be appropriate when the technician has the right tools, compatible glass, suitable weather, and a safe work area. Some vehicles or calibration procedures may require a shop. The installation method and adherence to safety requirements matter more than the service location alone.
8. What should I do if my windshield is damaged by a rock while driving?
Keep your attention on the road and avoid sudden maneuvers. If visibility is significantly impaired or the glass appears unstable, pull over somewhere safe when possible and arrange assistance. Do not press on the damaged area. Have the windshield assessed promptly to determine whether repair or replacement is needed.
9. Can a windshield be replaced if my vehicle has a lane-departure warning system?
Yes. A compatible windshield can generally be installed in vehicles with lane-departure warning systems, but the camera and mounting arrangement must meet the vehicle's specifications. Calibration may be required after installation to ensure the system functions according to manufacturer requirements.
10. What should I avoid after getting a new windshield?
Follow the installer's instructions about driving, door slamming, retention tape, window position, and vehicle washing. Avoid disturbing the glass or surrounding trim while the adhesive develops strength. Contact the installer if you notice water leaks, unusual wind noise, loose trim, or driver-assistance warnings.